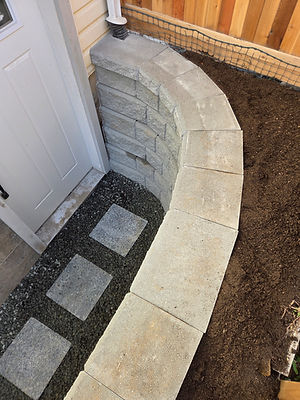
Retaining Wall
This retaining wall took a lot of work to fine tune the foundation and get the radius of the curve right. It also required to have a downspout moved. It turned out well but don't take my word for it, take a look at the pictures and see for yourself.
Here you can see what the area looked like before any work on the retaining wall began.
.jpg)
.jpg)
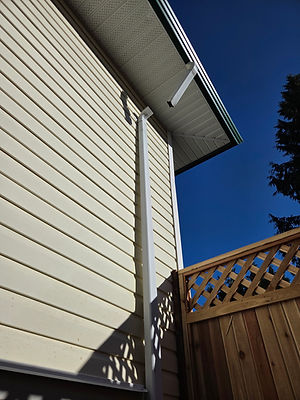
Once the downspout was relocated as shown here, it was time to focus on the retaining wall.
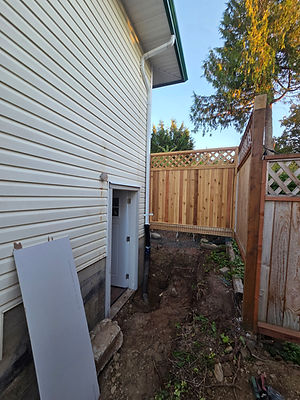


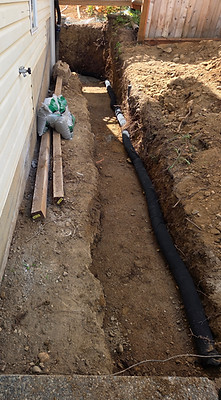
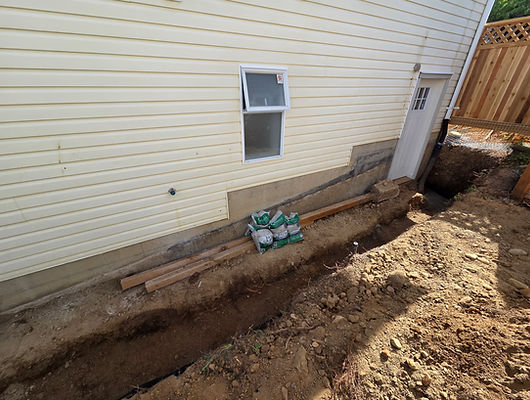
The weeds and rocks made digging slightly more challenging...

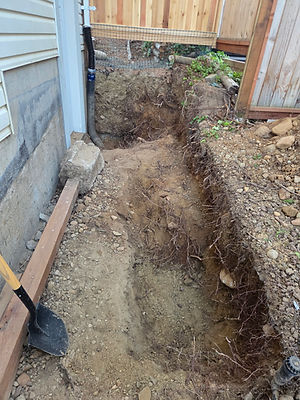
....but the task got done and the trench was made.
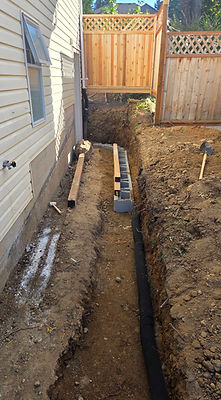
After the trench was leveled and compacted, the first row went down
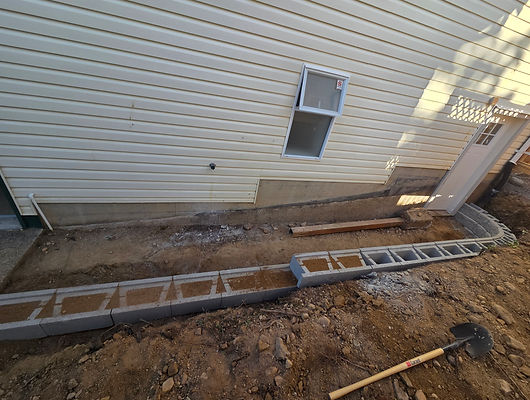


By the third row, the retaining wall was starting to look like...well...a wall ;)

A wall that...retains....stuff :P
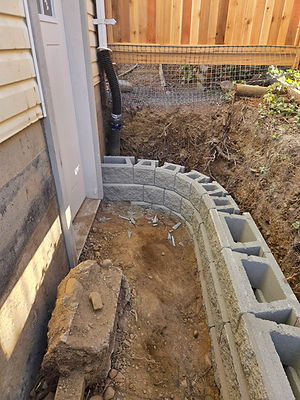
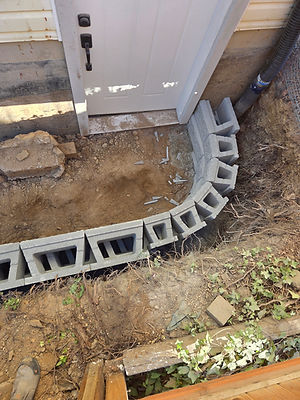

Due to the height of the wall, no fines concrete was needed to reinforce the bottom rows. It took 264 lbs. of cement and a half yard of 3/4" clean crush gravel.

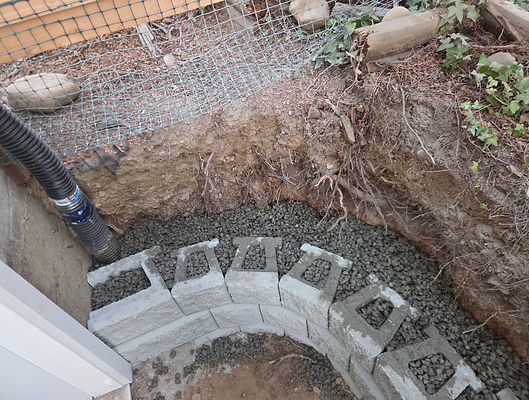

By the sixth course, the curve opened up enough so the blocks didn't need any modification
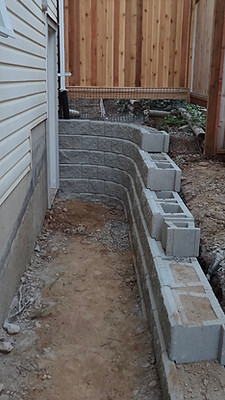

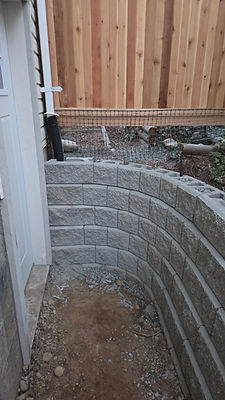
The seventh and final row went on and then the top caps were cut and placed in position


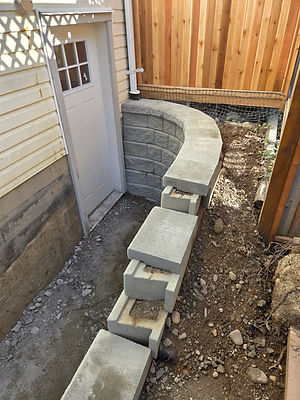
The top caps received mitered outside corners where the vertical met the horizontal to achieve a higher end finish.
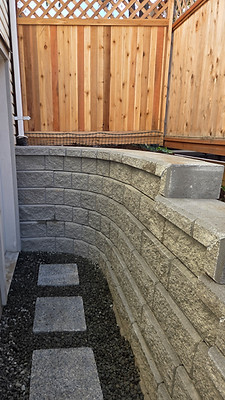
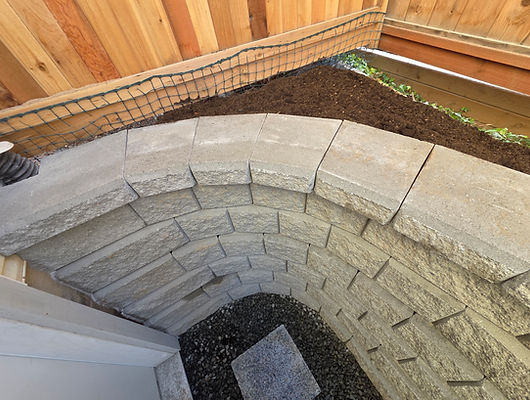
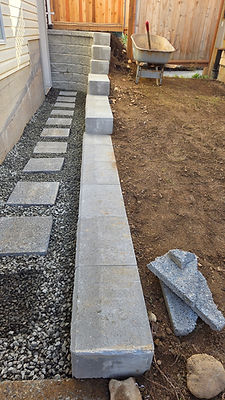

Once all the cuts were made and tested with a dry fit, the top caps were glued down and the wall was complete after being backfilled